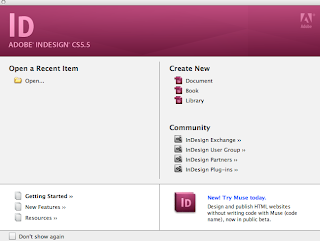
Open New document.
lways add a 3mm bleed to the page and make it the size of the trimmed down size you want.
Press W and all the guides go and you get a view of what your printed page will look like.
To colour on InDesign open the swatches pallet, you can add colour to the fill or the stroke, short cut between outline and fill is to press X.
If using a stroke you need to increase the weight of the line so it can been seen.
Create new colour swatch.
This grey box means that the colours are global.
You can create tints of your colour and when you change the percentage of one they will all change as they are global colours.
You can create tints of your colour and when you change the percentage of one they will all change as they are global colours.
Photoshop
1.CMYK,Greyscale
2. 300 dpi
3. Actual size
4. Format- Tiff or PSD-Transparency
Illustrator
1.CMYK
2.AI
Always place images on InDesign.
The two colours used are added to your swatches so they can be used.
When you place click show import options, it gives settings that you can change before its place, if your illustrator file is not transparent you can change it here.
Links show the files and the information about them.
You need to save the image in the same folder you save the InDesign file.
To edit image you can go to links edit original and a short cut is hold alt and double click on the image and it will open in the programme it was made in.
If you make changes to the original in Illustrator and save it it will automatically change in Indesign as well.
If you click the circles in the middle of the image you select it, you can then change the fill colour of it to a spot colour.
When printing...
If you choose separations it splits the image into the colours used in it so they will be printed separate.
You can view the separations on the page before you print it.
When two colours overlap they knock each other out so when they are printed the colours don't print over each other. Black doesn't knock out it over prints.
If you want to overprint ad not knock out you can change how the separations are going to look.
Where the images overlap more ink is used, if you change view to ink limit you can see the percentages of ink that will be printed for each colour.


No comments:
Post a Comment